With the release of boxset 21303 Wall-E, I had much more fun with the kids after I had motorized Wall-E. The construction with Wall-E was great, but it was a pity that the boxset had not cater for its Power Functions
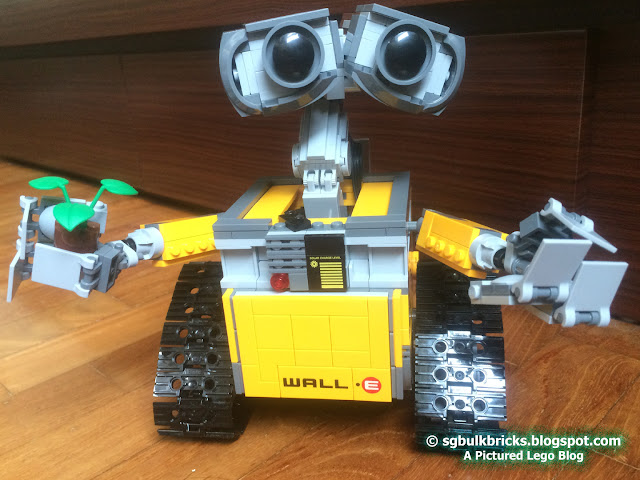
In the simplest method, I will show how i mount the Power functions onto Mr Wall-E
Additional parts you will need to motorize Wall-E

2780 - Technic, Pin with Friction Ridges Lengthwise WITH Center Slots ~ 2 pieces
3705 - Technic Axle 4 ~ 2 pieces
3004 - Brick 1x2 ~ 1 piece
3023 - Plate 2x2 ~ 2 pieces
3795 - Plate 2x6 ~ 1 piece
4758 - Plate 2x8 ~ 1 piece
8884-1 - Power Functions IR Receiver ~ 1 piece
58120c01 - Power Functions 9V Medium Motor ~ 2 pieces
8885-1 - Power Functions 9V Remote Control Unit ~ 1 piece
88000-1 - Power Functions AAA Battery Box ~ 1 piece
Disclaimer - My method..
- Will not modify Wall-E's body by removing or substituting the parts. But simply mounting the IR Module with additional parts
- Will substitute some moving tracks part to Motors
- Remove permanently some Wall-E's parts to mount Battery Box
The steps illustrated ...

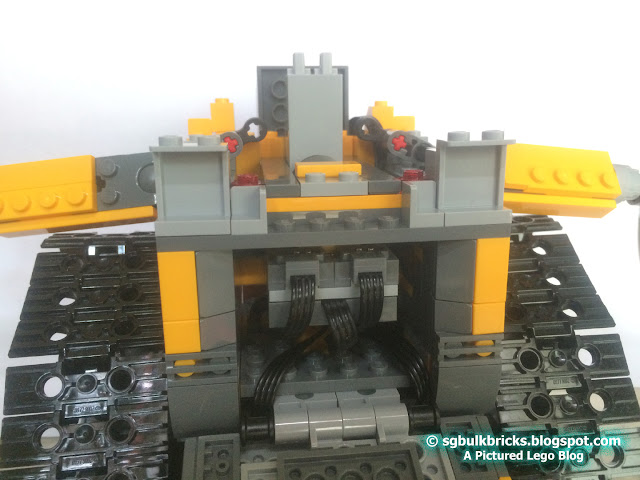
Mounting the Motors
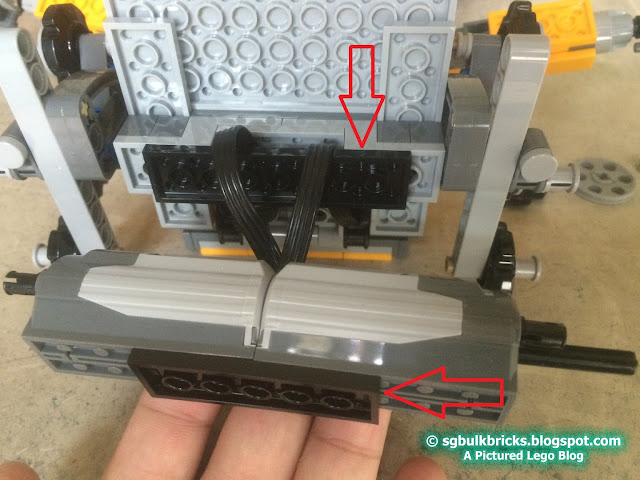
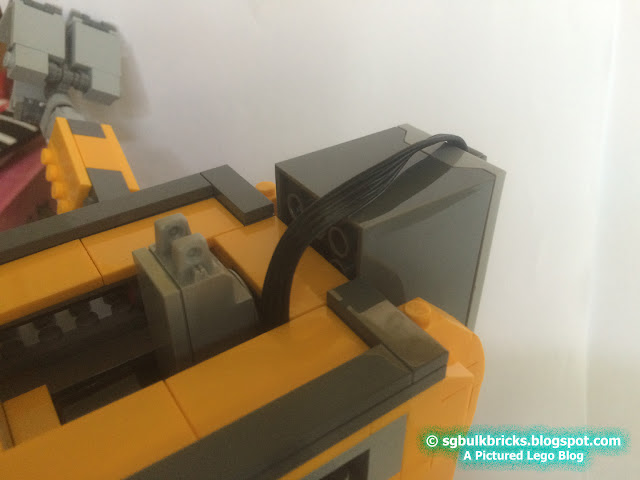
Extra Plates to hold Motors and Cables in position
This is where the IR Module is mounted
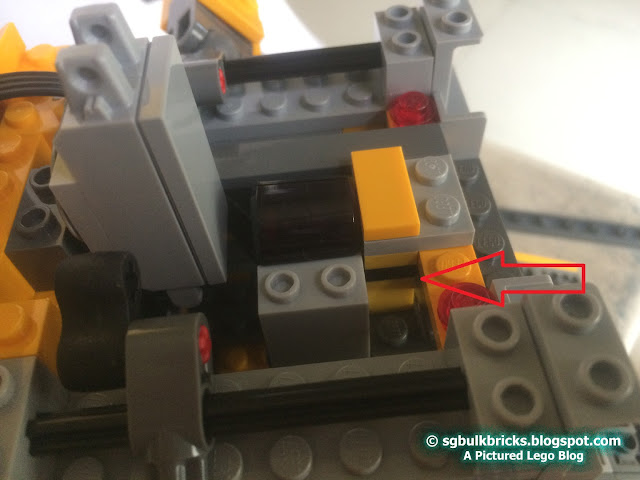
Extra Brick and Plates to level up the IR Module

The Battery Compartment is mounted behind Wall-E

These parts were removed, when mounting the Motors and to mount the Battery Box
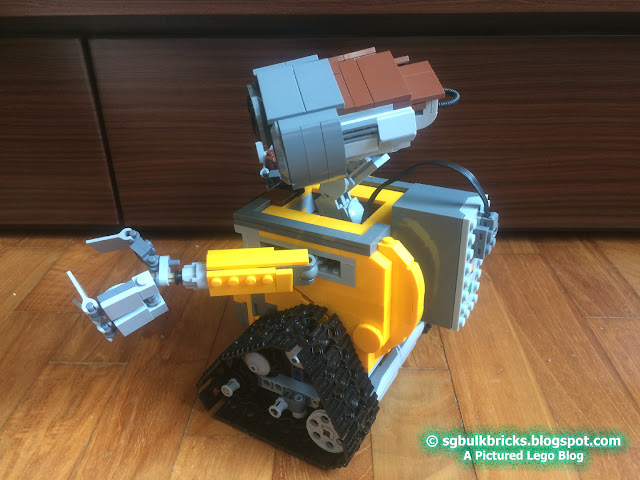
And we are done, Have fun
Thursday 5 November 2015
Power Function Motorize Wall-E
Subscribe to:
Post Comments (Atom)
No comments:
Post a Comment